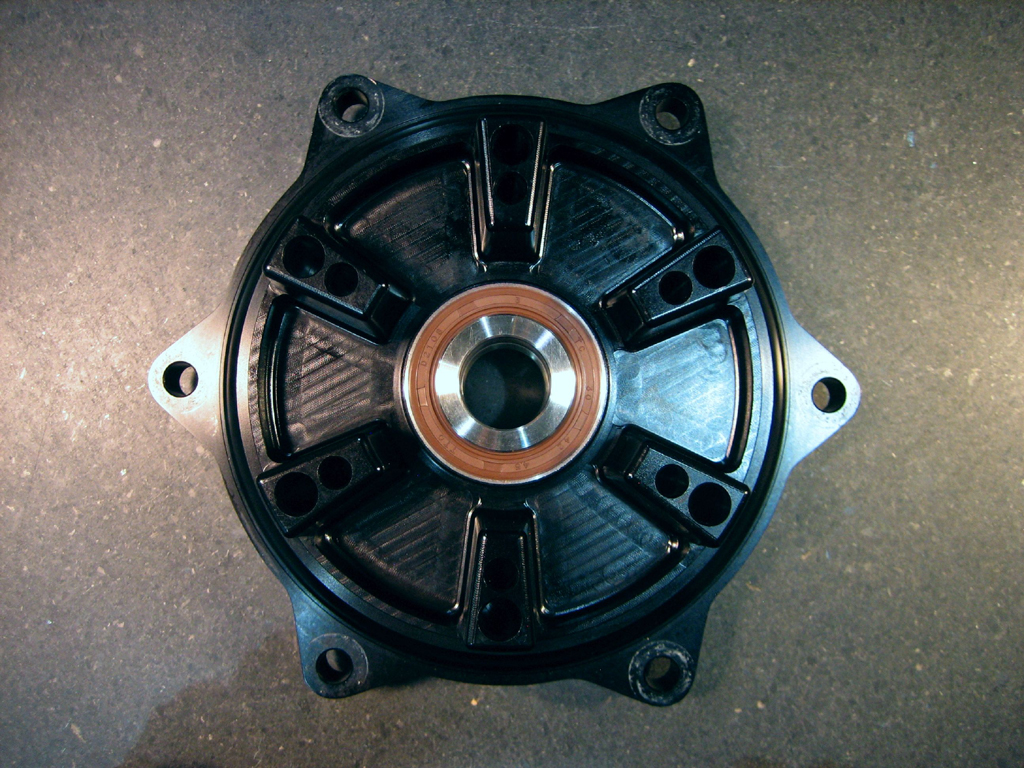
1996 and Later DR650SE Sprocket Hub Dual Bearing Upgrade

Replacing the DR650SE's sprocket hub (aka cush drive) bearing when sprocket axial play (wobble) has become excessive should be part of regular maintenance (at minimum check every time the chain is adjusted, but best to check every time the chain is lubricated). The penalty for neglecting this may be a bearing failure, along with the attendant collateral damage, such as a destroyed hub, a destroyed swing arm, and possibly even an accident. At some point the hub's bearing bore will wear out even if the bearing is replaced at appropriate intervals. When measuring hubs with worn bearing bores, the bore is found to be worn in the bearing area but not the seal area, which points to the wear occurring during use rather than from pressing bearings out and in too many times. The main cause of the issue is that the bearing is offset significantly outboard from the point where the chain and opposing damper forces would balance. This is corroborated by the fact that bearing play develops more slowly the tighter the damper rubbers fit. Ideally, radial and torsional play would be treated as independent variables, i.e. the damper rubbers would only be used to contain rotational shock loads, and not be used to attempt to contain moment loads acting on the sprocket hub. This can be facilitated by supporting the hub on two bearings rather than one, at which point whether the damper rubbers are worn becomes irrelevant to sprocket hub/sprocket hub bearing life. An article analyzing and scoring the various possible strategies can be read here.
Steps to the work we perform:
Press out existing bearing and seal.
Determine the suitability of the hub for modification by measuring the bearing bore to determine if the interference fit is still tight enough.
Ultrasonically clean the hub.
Clamp the hub in a lathe's six-jaw chuck and true it to the existing bearing bore both axially and radially so there is no discernible needle movement on a .0001"-reading dial indicator.
Bore the hub to provide a suitable press fit on the new 2nd bearing.
Flip the hub, re-true (to the new bore), and chamfer the corner of the new bore.
Shorten the existing inner spacer to act as a center spacer.
Machine the new inner spacer out of the remnant from the center spacer.
Re-clean the hub.
Press in a name brand outer bearing.
Install the center spacer.
Press in a name brand inner bearing.
Install the outer and inner seals.
Apply seal grease to the seal lips.
Install the inner spacer.
We are only offering this service for aftermarket hubs. You can now purchase a new converted OEM hub from us outright.
We offer a one to two business day turnaround time (from receipt of payment information), and charge $250.00 plus return shipping for the service.
When a hub is found to be unusable, we charge $18.50 plus return shipping for the inspection.
When shipping a hub in for modification, please contact us via phone or email beforehand to let us know. Also, please don't forget to include the inner spacer in your shipment.
